
During our cruise along the
south coast of Cuba several years ago, I did a really dumb thing. We were Med-moored to the dock at Santiago, next to our friend's Vagabond 47 and there was a bit of swell running in the harbor. We both decided to set out an anchor from our bow to keep us from banging together and used our dinghy to do just that. I sat in the dinghy with our CQR 45 and about 50 feet of 3/8 BBB chain in my lap ready to deploy the anchor, and that is when it happened.

It was right about then that I heard the loud pop, and the pain shooting up my back was excruciating. It almost ruined what turned out to be the best cruising we have ever done. From that moment on, it meant I had to be very careful when doing any kind of lifting. That has not stopped me from forgetting over the years and doing more stupid things to aggravate my back problem from time to time. A few weeks ago, we wanted to get out and use our new dinghy for a trip around the local waters. This means lifting the dinghy from a bracket on the stern of the boat, down onto the swim platform and then onto the stern of the dinghy. This is something I have only done a couple of times. then paid for it later with back pain. If we did not resolve the problem, it was obvious we would not use the dinghy very often and there would always be the potential for disaster. Our outboard was given to us by a friend. It looks rough, but runs like a champ. It is a vintage 1999 Johnson 6 horsepower and is pretty heavy to be lifting around on the swim platform.

After considerable research and feedback from other boat owners, we decided that an outboard lift was the answer to our problem and the savior of my back. We decided on the
St. Croix 175 Little Crane mounted on the stern corner of the boat just above the outboard. It was not the least expensive, but we liked the sturdy build and the ease to disassemble and stow it when not needed. Another trawler owner highly recommended it and has been using the same model for years. We found the best price on-line at
Marine Warehouse in Miami and it arrived about a week after we placed the order.
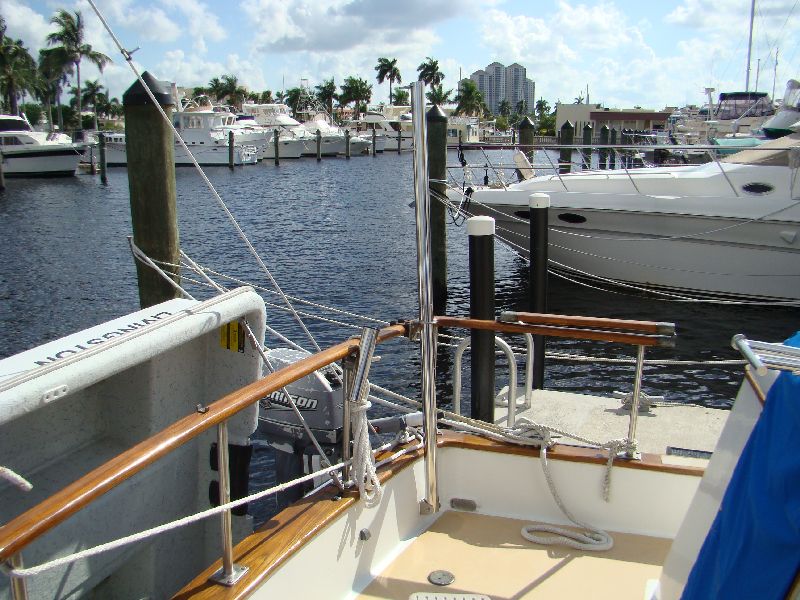
The installation is very simple and straightforward, as straightforward as anything on a boat can be. The first obstacle to overcome is the mounting bracket that holds the upper part of the lower mast pipe. This is designed to be used on a one inch horizontal rail and or course our rail is teak. But after a little study, I concluded that it would still work on our rail with the use of some slightly longer bolts. You can see how it luckily fit very well and was pretty sturdy.
The next step is to mount the base bulkhead bracket to the combing on the stern. This was thru-bolted to a substantial piece of teak as a backing plate and large fender washers. A healthy dose of caulking behind both the bracket and the backing plate on the inside will keep the water out.
Once these two brackets are installed, the section of the mast pipe with the notch in the bottom to accept the bulkhead mount is slid into the rail mount and down to the bulkhead mount. The mast is a fine piece of polished stainless and looks very nice. It is also thick walled to handle the weight of the outboard.
The upper section of the mast pipe is fitted into the top of lower section. Both of these can easily be removed and stowed away until they are needed, which is one of the points we liked about this unit.
The lifting arm is, again, a separate piece and can be very cleverly attached and removed if not needed. There are two tabs welded to the top of the upper mast section, and the arm is inserted in the tabs. The arm will swing over and allow us to use the lift on the side of the boat as well as the stern. The crane arm has about a 30-inch reach, and both the arm and the upper section of the mast will swing and rotate as needed.

The final steps in the process is the lacing of the line provided through the three rollers at the end of the arm and the 3-purchase block, also provided. There is a clear diagram in the instructions that makes it easy. A snap hook is attached to the block or can be left attached to the outboard. That is all there is to it. Careful consideration needs to go into the exact location for mounting. I always check and recheck everything before drilling any holes. The outboard is heavy so everything is through bolted and not screwed. All that is left is to hook it to the outboard and lift away. Except that the one thing I forgot was the strap that is attached to the outboard to lift it off the bracket. Oh well, another trip to the supply store. Until next time.


Chuck; We had a customer install one of these on a teak rail much like yours. Br careful, the corner glue joint let go ripping the wood screws out. We had Carter fab make a L bracket to be mounted underneath spanning 10" each side. Additionally we designed and had fabricated a support....just saying....Ken Oak Harbor Marina
ReplyDeleteThanks for the heads up on that. It's good advise. Early on we removed all of the teak rails and re-screwed and epoxied all of the joints. In addition, the stanchion sits directly under the corner and acts as your suggestion for a bracket. If it didn't, reinforcing would be a good idea, especially for heavier outboards. Chuck
ReplyDelete