The Christmas and New Years holiday season doesn't mean the work on the boat will slow down or stop. If we are to stay on schedule, we need to push forward with all of our projects, even the smaller ones. Those smaller ones keep getting pushed down the list as more important tasks present themselves and some get moved to the top for a variety of reasons. But the list doesn't look any shorter even with all of the done items scratched off. One small project I have been promising to Susan for a long time is finally done.
It was actually the
completion of the flybridge renovations that removed any excuses I might have had to put this one off. I did promise Susan that at some point I would get her a working exhaust fan set up in the galley. The exhaust pipe exited into one of the flybridge seats and I did not want to install a fan and then have to remove it when I removed the built-in seats. The new seats are installed so the exhaust fan has moved to the top of the list.
In the galley, the pipe and cover where the fan belonged has always been there. We have no idea if the boat ever had one, but a big help was the fact that the wiring was already run to the flybridge, including a switch on a small panel on the front of the galley cabinet. The pipe is a 3-inch gray piece of PVC that runs from the cover seen here and exits inside the starboard seat with about 8 inches of pipe sticking out of the deck.
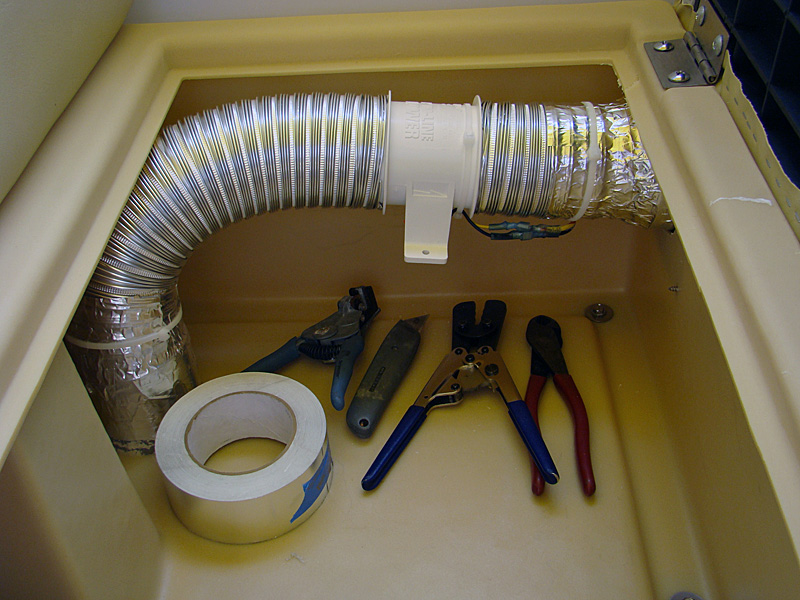
The rest was easy. A visit to the local Ace hardware gave me all of the parts I needed except the fan. A 3-inch diameter piece of aluminum dryer vent hose and a vent cover was all that was needed. Because the pipe was also 3 inches, the dryer hose and pipe were connected using the foil tape that's used in most home heating and air conditioning duct work. The fan consists of a
3-inch blower fan that fit directly into the dryer ducting hose. The aluminum hose is rigid enough that it supports the weight of the fan without having to attach it to anything. This eliminates vibration of the fan through the side of the seat. Heat shrink butt connectors to waterproof the wire connections was the last step and we were in business.
The final final step was to vent the whole thing out the front of the seat. For our set up, this was the best placing. We chose the type of
vent cover used on dryers that opens when the fan is running. When it's off, the vent cover is closed. The vent cover only comes in 4 inch, so an
adapter was needed to connect it to the 3-inch pipe. Now when Susan cooks, she no longer steams up the entire salon and it keeps the temperature down inside the boat.


No comments:
Post a Comment
Note: Only a member of this blog may post a comment.